Step 2: Build the ISO
ISO Design
Having completed the LNK dropper and its associated stager, we can now bundle them in an ISO. When the target opens the ISO, we only want them to see the LNK file, not the directory containing the stager code. Therefore, when making the ISO, we'll need to hide the stager directory.
ISO Construction
Windows provides simple tools for reading ISO files, but no built-in functionality for creating them. We'll use PowerShell, along with a custom ISO library, to put everything together.
First, download the New-IsoFile.ps1 script and save it into the PoC Dropper directory. Then create a PowerShell script called build_iso.ps1 in the same directory, with the following contents:
. .\New-IsoFile.ps1; # Load the New-IsoFile cmdlet.

# Hide the stager folder
Set-ItemProperty -Path "iso\stager" -Name "Attributes" -Value "Hidden";
# Create the ISO
dir -force iso | New-IsoFile -Path "document_archive.iso" -Media CDR -Title "Documents" -Force | Out-Null;
# Un-hide the stager folder
Set-ItemProperty -Path "iso\stager" -Name "Attributes" -Value "Normal";
This script hides the stager directory, builds an ISO called document_archive.iso in the PoC Dropper directory, then un-hides the stager directory.
Confirming the Build
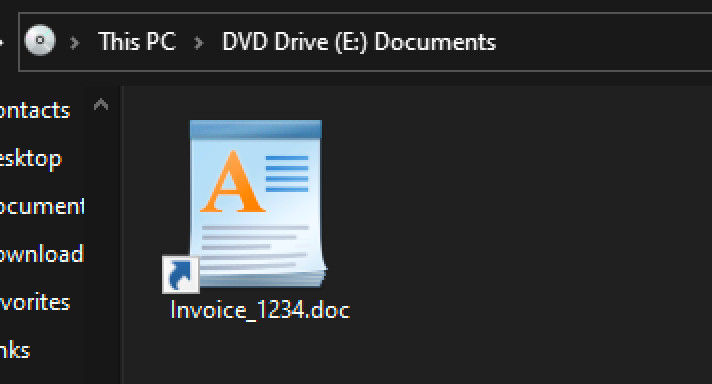
Before we send the ISO to a target, we need to confirm that it works. Double-click the resulting document_archive.iso. When it opens, you should see the Invoice_1234.doc.lnk file:

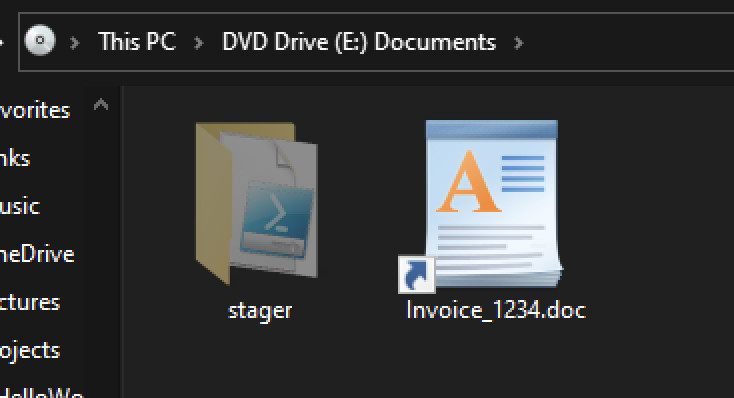
If we enable the Hidden items option in the View menu, we can see the hidden stager directory:

Success! We're now ready to build the HTML dropper.